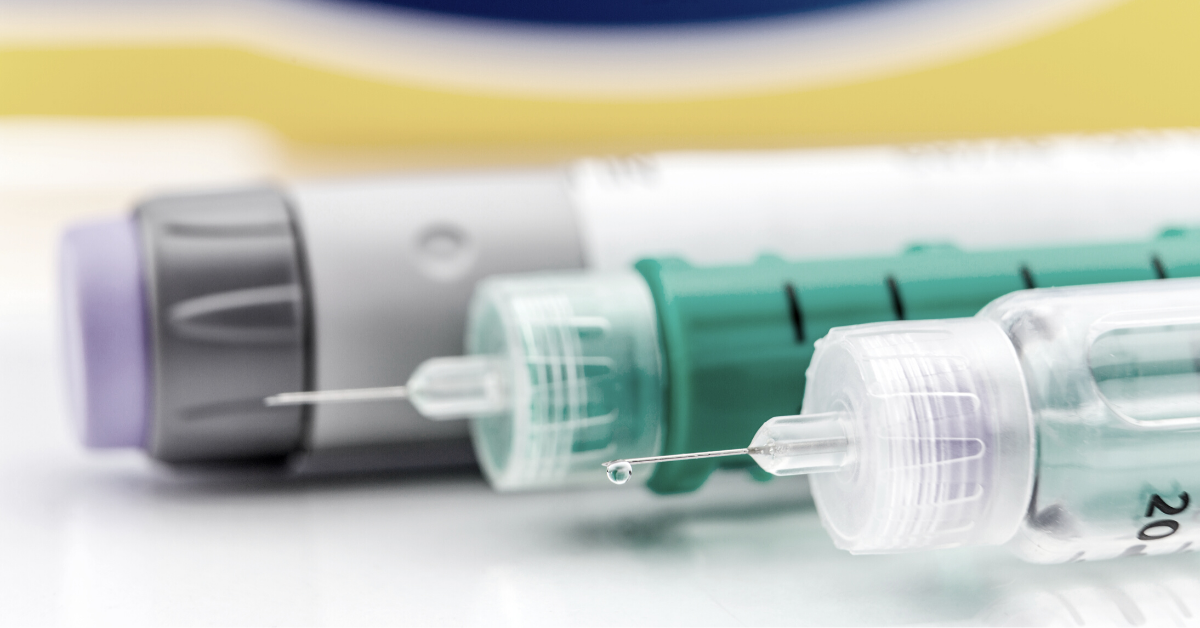
An insulin pen is a device used by people with diabetes to deliver insulin into subcutaneous tissue, which is the tissue between your skin and muscle. Insulin pens are generally easier to use and more convenient than traditional insulin syringes because the pen contains a pre-filled amount of insulin, with a dial you can use to choose the correct dose. You can use a disposable insulin pen (one you throw away when the pen is empty), or a refillable pen with a replaceable insulin cartridge.
Whether you use a disposable or reusable pen, you will need to replace the insulin pen needle with each use. Replacing a sharp needle can sound intimidating, but by following just a few steps, it can be easy and stress-free!
First, let’s review what you will need, as well as the basics of the insulin pen needle. Then, we will review the steps to replacing the needle. Finally, we will review some important reasons to change your needle with each use.
What Do You Need?
It's best to gather the items you need before you begin. You don’t want to start replacing the insulin pen needle and realize you forgot something! It’s not a long list, but if you have everything at your fingertips, you can quickly get the job done.
You will need just a few items:
-
Soap and water to wash your hands
-
Your insulin pen
-
An alcohol prep pad or cotton ball soaked in alcohol
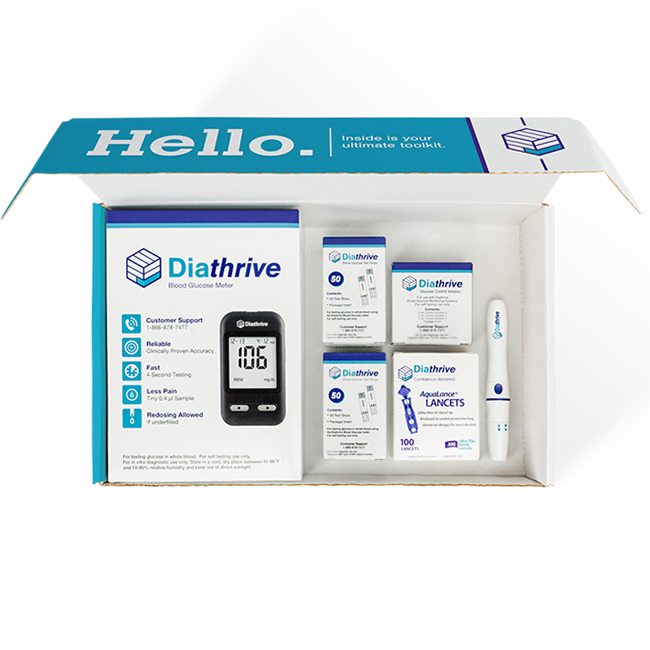
Make sure the needle fits the insulin pen you are using. Your insulin pen may be made by one of several manufacturers including Sanofi, Lilly, Novo Nordisk, Owen Mumford, Berlin Chemie, or Companion Medical.
Whichever pen you have, Diathrive’s smooth-screw design is easy to use and ensures you have proper connection without damaging the insulin pen’s threads. These insulin pen needles fit most manufacturers perfectly, too!
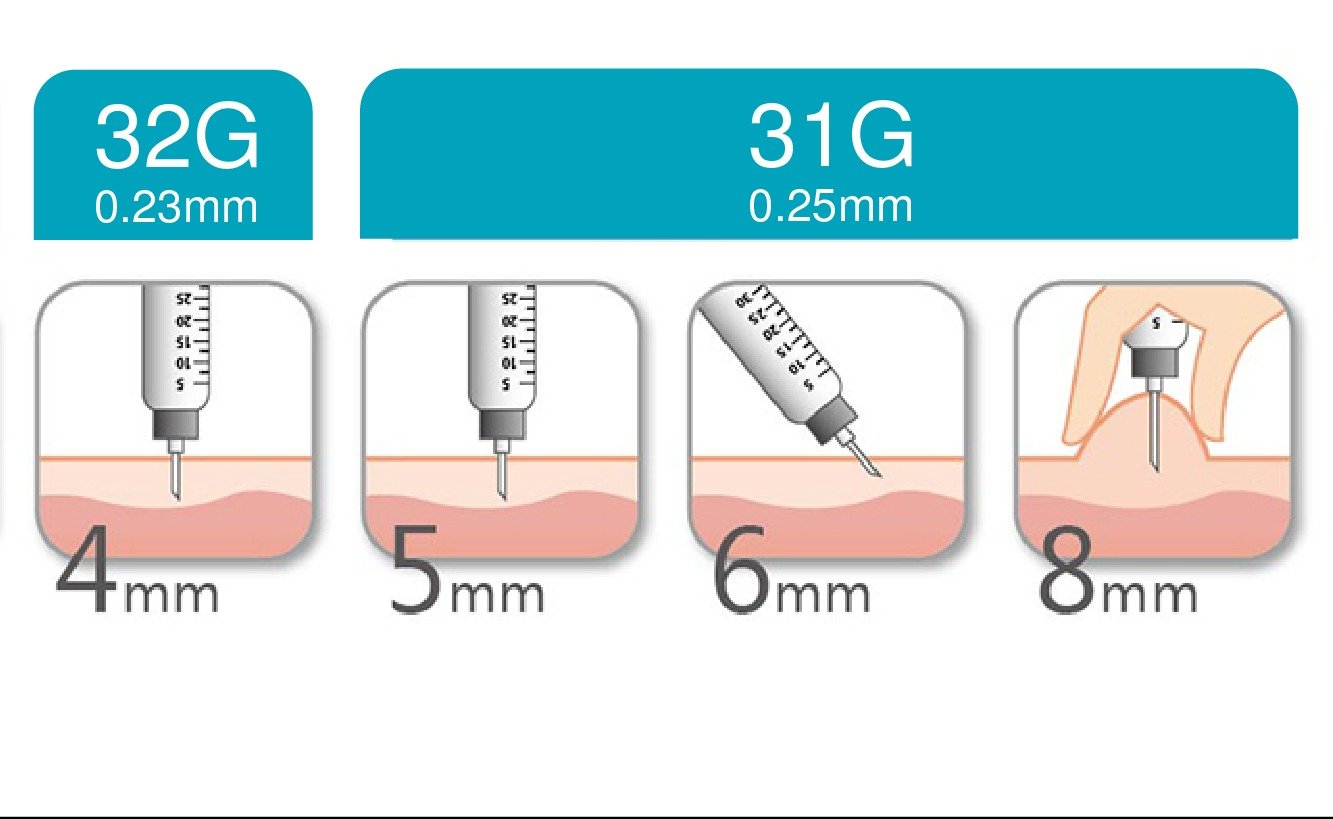
We also have several needle sizes available, shown below from thinnest and shortest to thicker and longest:
The Basics of the Insulin Pen Needle
There are four basic parts of the pen needle:
-
The safety covering. This is the covering over the opening on the bottom end of the insulin pen needle. It is made of paper and has a pull tab for removal.
-
The outer cap. The safety covering described above is attached to the outer cap. This cap covers the inner cap and needle. You use this cap to attach and remove the needle from the pen.
-
The inner cap. This cap is under the outer cap and protects the needle. Do not remove this cap until you are ready to give yourself an insulin injection.
-
Inner needle. The needle is used to deliver insulin. The needle should only be exposed when you are ready to use it.
How To Use Your Insulin Pen and Needles Step by Step
Now that you have everything ready and understand the parts of your insulin pen, you are ready to change the needle. You should change the injection pen needle after each use of the insulin pen to avoid infection, pain, lumpy skin, or needle breakage (more on this later).
By following the step-by-step instructions below, you will become a pro in no time!
Step 1. Wash your hands with soap and water to decrease your risk of infection.
Step 2. When you are ready to use your insulin pen, remove the pen cap and use an alcohol prep pad or cotton ball soaked in alcohol to clean the rubber end of your insulin pen.
Step 3. Take out a new pen needle and remove the paper safety tab from the bottom, being careful not to touch the exposed needle that was being protected by the safety tab. Press the outer cap straight on to the insulin pen and turn clockwise until tightened. The outer cap should be snug on the pen but not too tight. Remove the outer cap, and your insulin pen needle is now ready for use!
Step 4. Remove the inner cap being very careful not to touch the exposed needle. This is the side that will go into your skin to administer insulin.
Step 5. Prime the needle. Turn the dosing knob by one to two clicks, hold the pen straight up in the air, and press the plunger button all the way until a drop of insulin comes out. You can click here for more detailed instructions on how to administer the insulin.
Step 6. Dial in your dosage. Hold the pen so that you can easily press down on the injection button with one hand, and gently pinch up the skin around the injection site with the other hand.
Step 7. Insert the needle into the injection site and press the button. Insert the needle and hold it in place for 6-10 seconds after injecting to make sure the full dose is administered. This ensures the medication is properly and fully delivered.
Step 8. After you use the insulin pen to deliver insulin, replace the outer cap securely on the needle. Do not leave a needle on the pen when it is not in use.
Step 9. Remove the needle by turning the outer cap counterclockwise until it is easily removed from the pen.
Step 10. Discard the outer cap containing the inner needle properly in a sharps container specifically designed for needle disposal. If you do not have a sharps container, you can use an old heavy-duty detergent bottle or a metal can. The container should be puncture proof, and also have a lid or screw-on cap that fits securely. This will keep you and others safe after the needle is discarded.
Step 11. Use an alcohol prep pad or cotton ball soaked in alcohol to clean the rubber end of your insulin pen.
Step 12. Replace the pen cap and store your insulin pen for your next use.
That’s it! In time, it will become second nature to change your insulin pen needle.
Why Change Needles With Each Use?
So, what’s the big deal about changing your insulin pen needle every day? Although some people reuse insulin pen needles, there are some good reasons to change the needle after each use:
-
Infections due to bacterial growth on the needle. If you clean your skin with alcohol before an insulin injection, why would bacterial growth be a problem? Even though you clean your skin, bacteria can still exist. Although most bacteria on the surface of your skin are harmless, you don’t want to risk contaminating your pen needle with harmful bacteria and then ultimately inserting that bacteria under your skin and into your body.
-
Pain from dulled, bent, distorted needle tips. Let’s face it, no one likes pain. Even though needles are sharp, reusing them can blunt and distort the tip and increase the chance of the puncture of injections being painful. The best way to ensure you have a sharp needle that is less painful to use is to change it after each use. This same concept applies to lancets, which should also be changed after every use.
-
Lumpy Skin. The scientific term for this is lipohypertrophy, and it looks like fatty lumps on the surface of your skin. The skin in that area can feel lumpy or firmer than other skin on our body. Besides looking odd, delivering insulin in the lumpy area could mean insulin is not absorbed consistently. This means it could be absorbed more or less quickly than in non-lumpy skin. You always want insulin to be absorbed consistently, so lumpy skin is something you want to avoid. Lipohypertrophy can also happen if you do multiple injections in the exact same area of skin.
-
Needle Tip Breakage. Multiple uses of the same needle could actually cause small pieces of the needle tip to break off. Although you must use the same needle a lot for this to happen, it’s definitely not something you want to risk.
Summary
Using the step by step guide above will help you easily and quickly replace your insulin pen needle after each use. In a short time, you will be performing the steps automatically. Remember, gather the things you need so you have everything at your fingertips, wash your hands, and follow the easy steps described above to change your insulin pen needle.
Sources:
Insulin Pen Injections | Cleveland Clinic
How to Use an Insulin Pen | Ministry of Health
Injectable Insulin (chart) | Cleveland Clinic
Diabetes Community, Support, Education, Recipes & Resources | Diabetes.CO.UK